


I test a lot of dash cam models, ranging from the cheap and cheerful Nextbase Piqo right on up to premium models including the Nextbase iQ and the Viofo A329. They’re all excellent variations on a theme, along with other models which feature in our best dash cam guide.
Buying a dash cam is easy enough, largely based on your performance expectations and budget. Choosing where to install a dash cam, though, can often be a little more challenging.
Having been through the process myself countless times now, I think I’ve finally found the ideal location for a dash cam in a vehicle. I’ve hit that sweet spot, which means more efficient performance and much greater ease of use.
Naturally, the theory changes depending on the vehicle, but the principle basically stays the same. Here are the five main reasons I think I’ve finally got mounting a dash cam tamed…
1. Take a test run
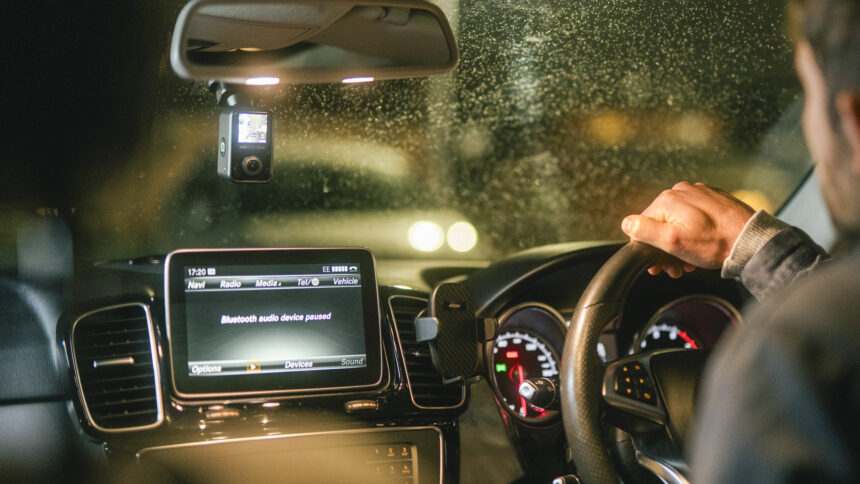
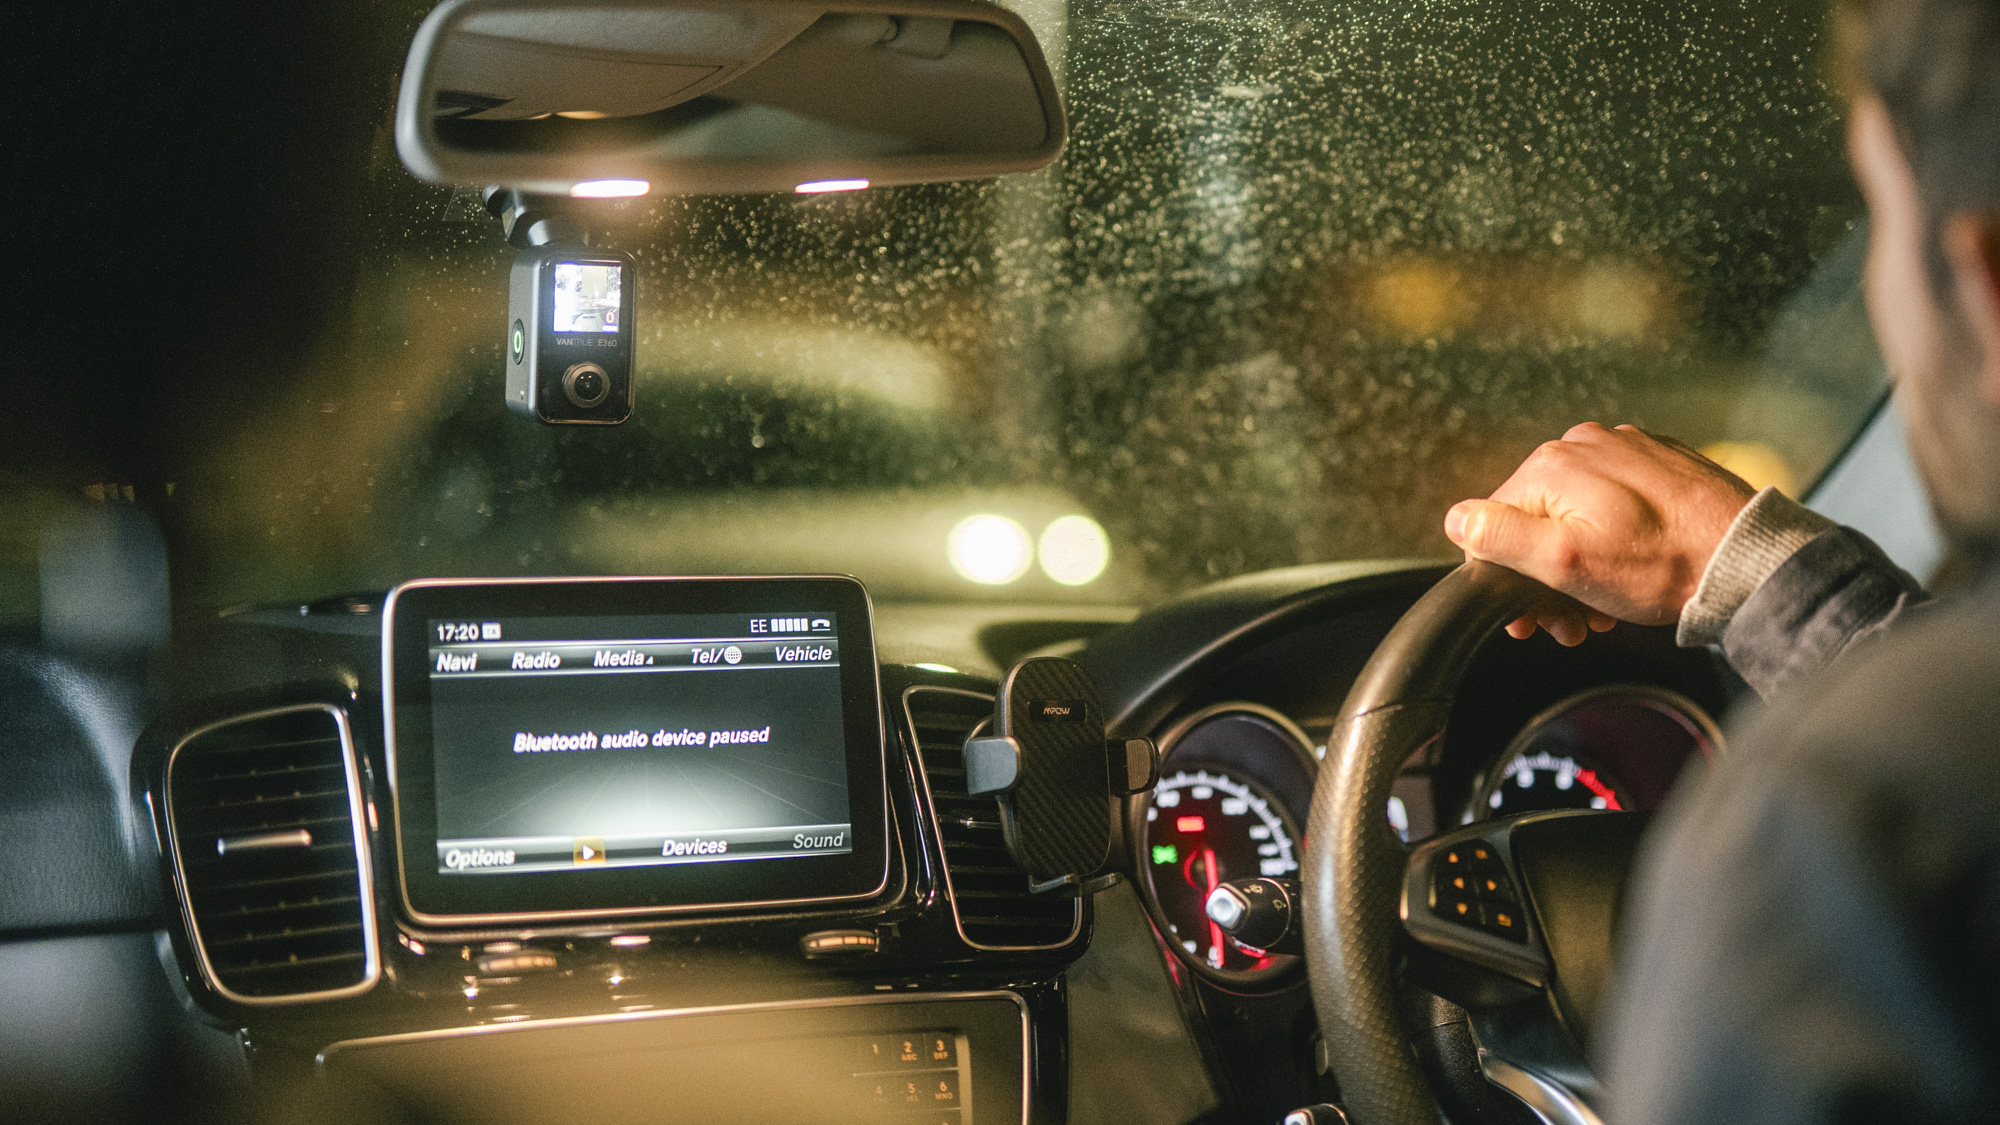
Some might say the most obvious place to mount a dash cam is behind the rear-view mirror, but this isn’t quite as easy as it sounds. Different vehicles have all sorts of windshield types, which in turn often means the rear-view mirror is tailored to suit that particular vehicle.
The main objective is to secure a clear view of the road. So, the first thing I do is sit in the driver’s seat and offer up the camera before fixing it to the glass. The objective is to secure a wide field of view, without the dash cam interfering with your line of sight. Get another pair of eyes to check the view from outside too.
2. Ensure it is legal
Even if the positioning looks and feels good, it’s vital to ensure that the dash cam meets all legal mounting requirements for your country. Nextbase, the leading dash cam manufacturer, has some good advice on its website for cross-checking purposes in the UK. Similarly for the US, dash cam maker DDPAI has a good state-by-state guide that helps clarify matters in America.
Make sure that fixing it where you think it looks right is actually a legal place to have the dash cam installed. Obviously avoid fitting a dash cam further down into the windshield glass area and keep it as close to the rear-view mirror as possible, which is usually on the passenger side of the mirror fixing. Ensure that this doesn’t affect any sensors that might be fitted in or around the mirror though, such as automatic rain sensors for the wipers.
3. Test fit the cables
Next up, try and test fit the power cable to make sure it can be effectively pushed away out of sight behind trim in the vehicle. This is a task that can become doubly complicated if a rear dash cam is also being fitted. The cable for this usually mates up with the front-facing camera, so it’s vital to spend time plumbing everything in as much as possible so that it doesn’t get in the way or could fall down and catch on any of the in-car controls.
Dash cams invariably come complete with plastic tools for getting wires behind trim panels, along with clips, fasteners and stickers for ensuring everything will stay put, even when the vehicle is being driven over rough surfaces. Use them.
4. Try a test preview
Ideally, try and power up the camera so that it is possible to preview the road ahead and what is being recorded before the dash cam is permanently mounted. This is less of an issue with dash cam models featuring suction cup mounts. However, most models fix to the glass using an adhesive pad, although it is usually possible to first mount a static sheet to the windshield and the adhesive pad to that.
A static sheet makes repositioning or even removal to another vehicle much easier. Attach the adhesive pad directly and it could be tricky to remove – trust me, I’ve found out the hard way.
Wires should be well out of the way of the lens and any controls on the unit itself need to be easily reached. Avoid fitting the dash cam too close to the mirror, or impede access to buttons and the memory card slot.
5. Last few checks and fitment
With everything test fitted, the final fitment can be carried out. Meanwhile, pick through a small checklist of final points such as ensuring the dash cam isn’t going to be affected by any air bags going off in the event of an accident.
I tend to move my dash cam models from vehicle to vehicle, but another way of achieving the perfect dash cam mounting scenario is to consider the same location and then using a hard wire kit to form a permanent connection in the vehicle. Doing this can frequently unlock additional features in a dash cam too, such as 24/7 parking monitoring and live ‘always on’ alerts.
Final thoughts
Working my way through this basic procedure many times over has enabled me to get my dash cam mounting process down to a fine art. A lot obviously depends on the type of vehicle, the design of the rear-view mirror and, also, the rake angle and area of the windshield itself. However, check off these points as you install your own dash cam and you should be in a much better place once installation is completed. Doing that dry run first is central to the whole process, I think.